The 9 steps, in order
Step 1: Generate or upload your mockup (1-30 minutes)
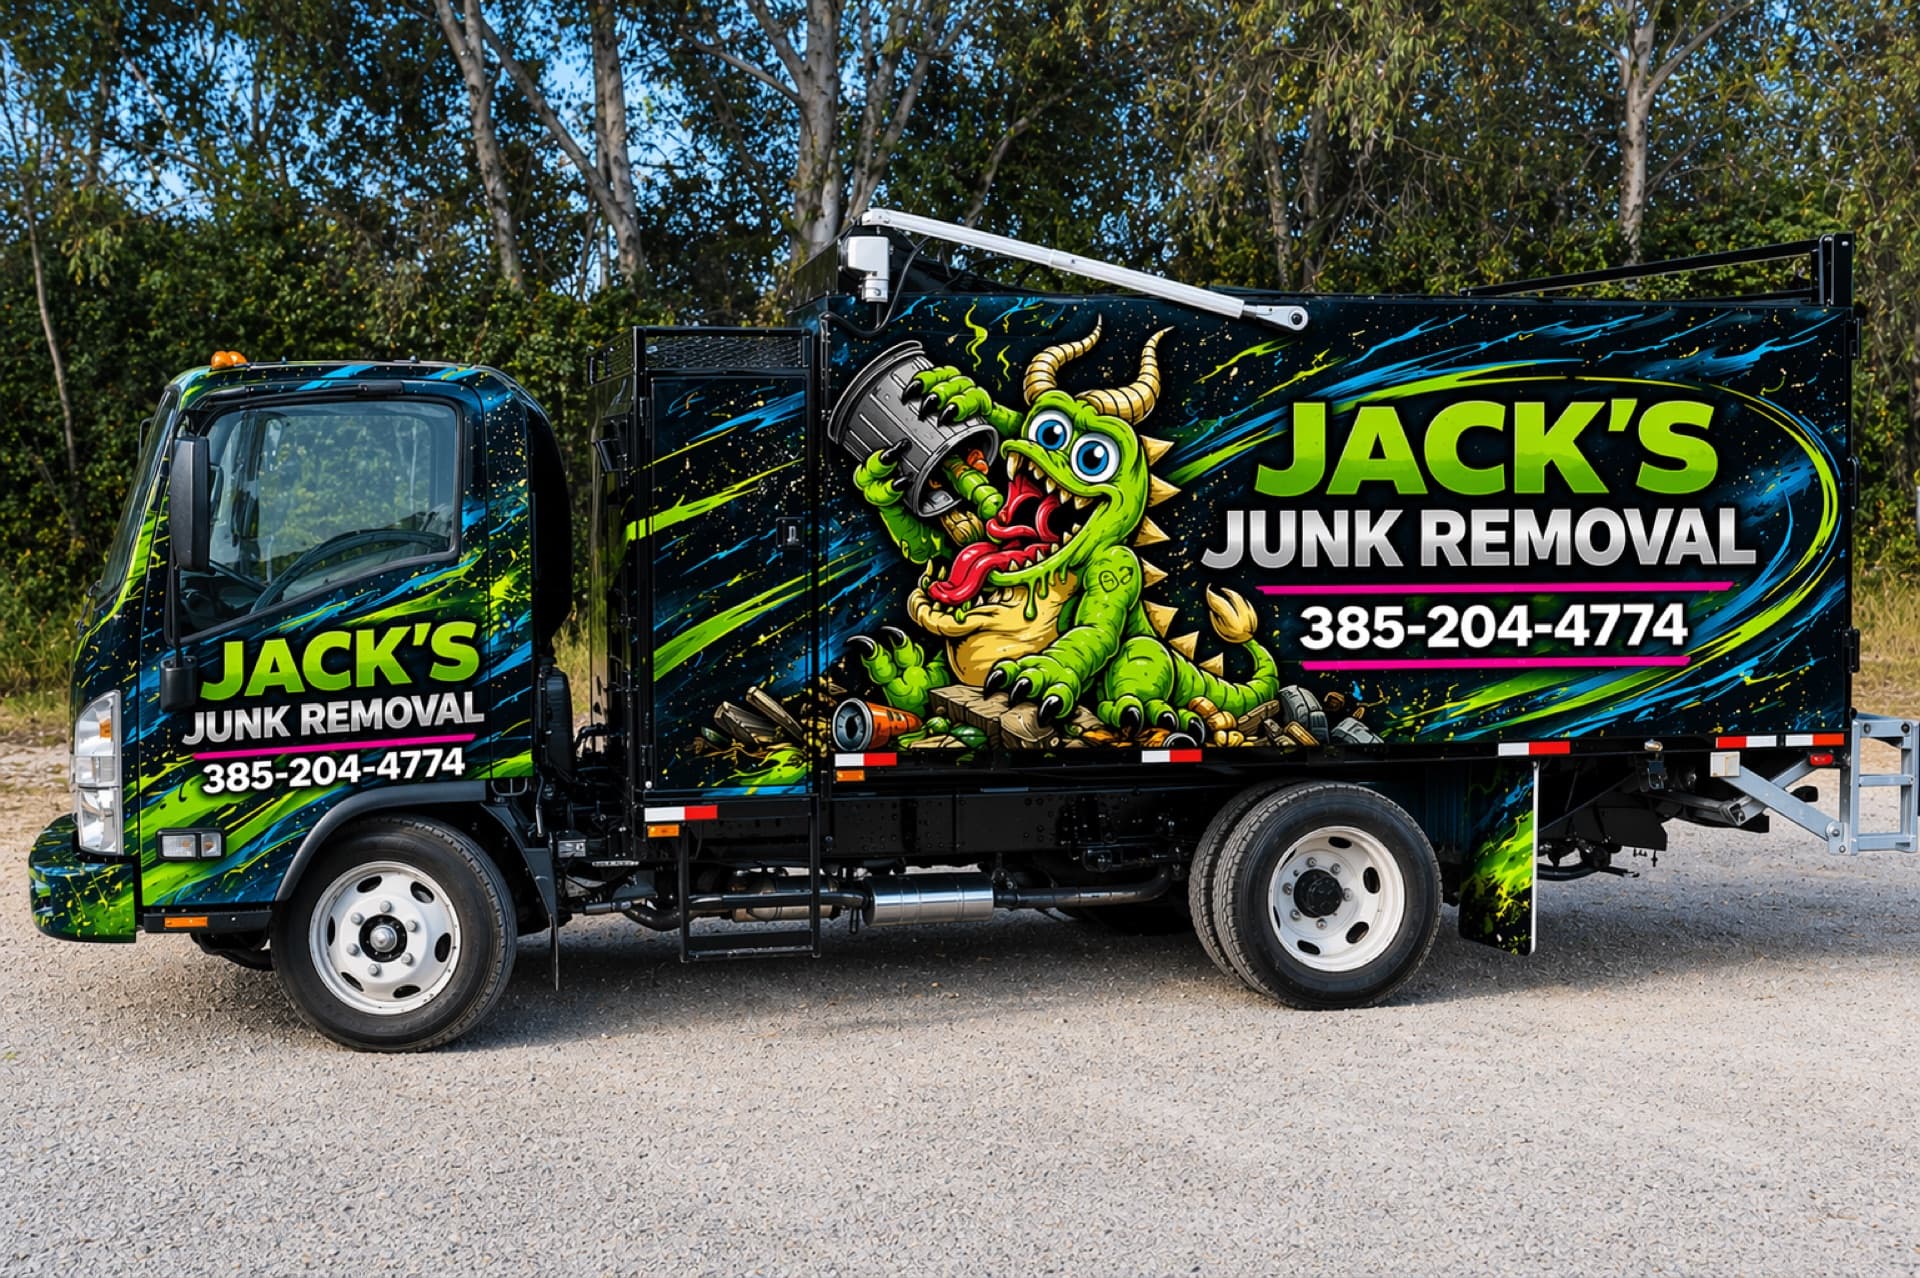
Start anywhere: ChatGPT, Midjourney, Gemini, Adobe Firefly, Stable Diffusion, our in-browser designer, Canva, Illustrator, a hand-drawn sketch on a napkin photographed with your phone. Doesn’t matter where the visual comes from. What matters is that you have a concept of what you want the wrap to look like.
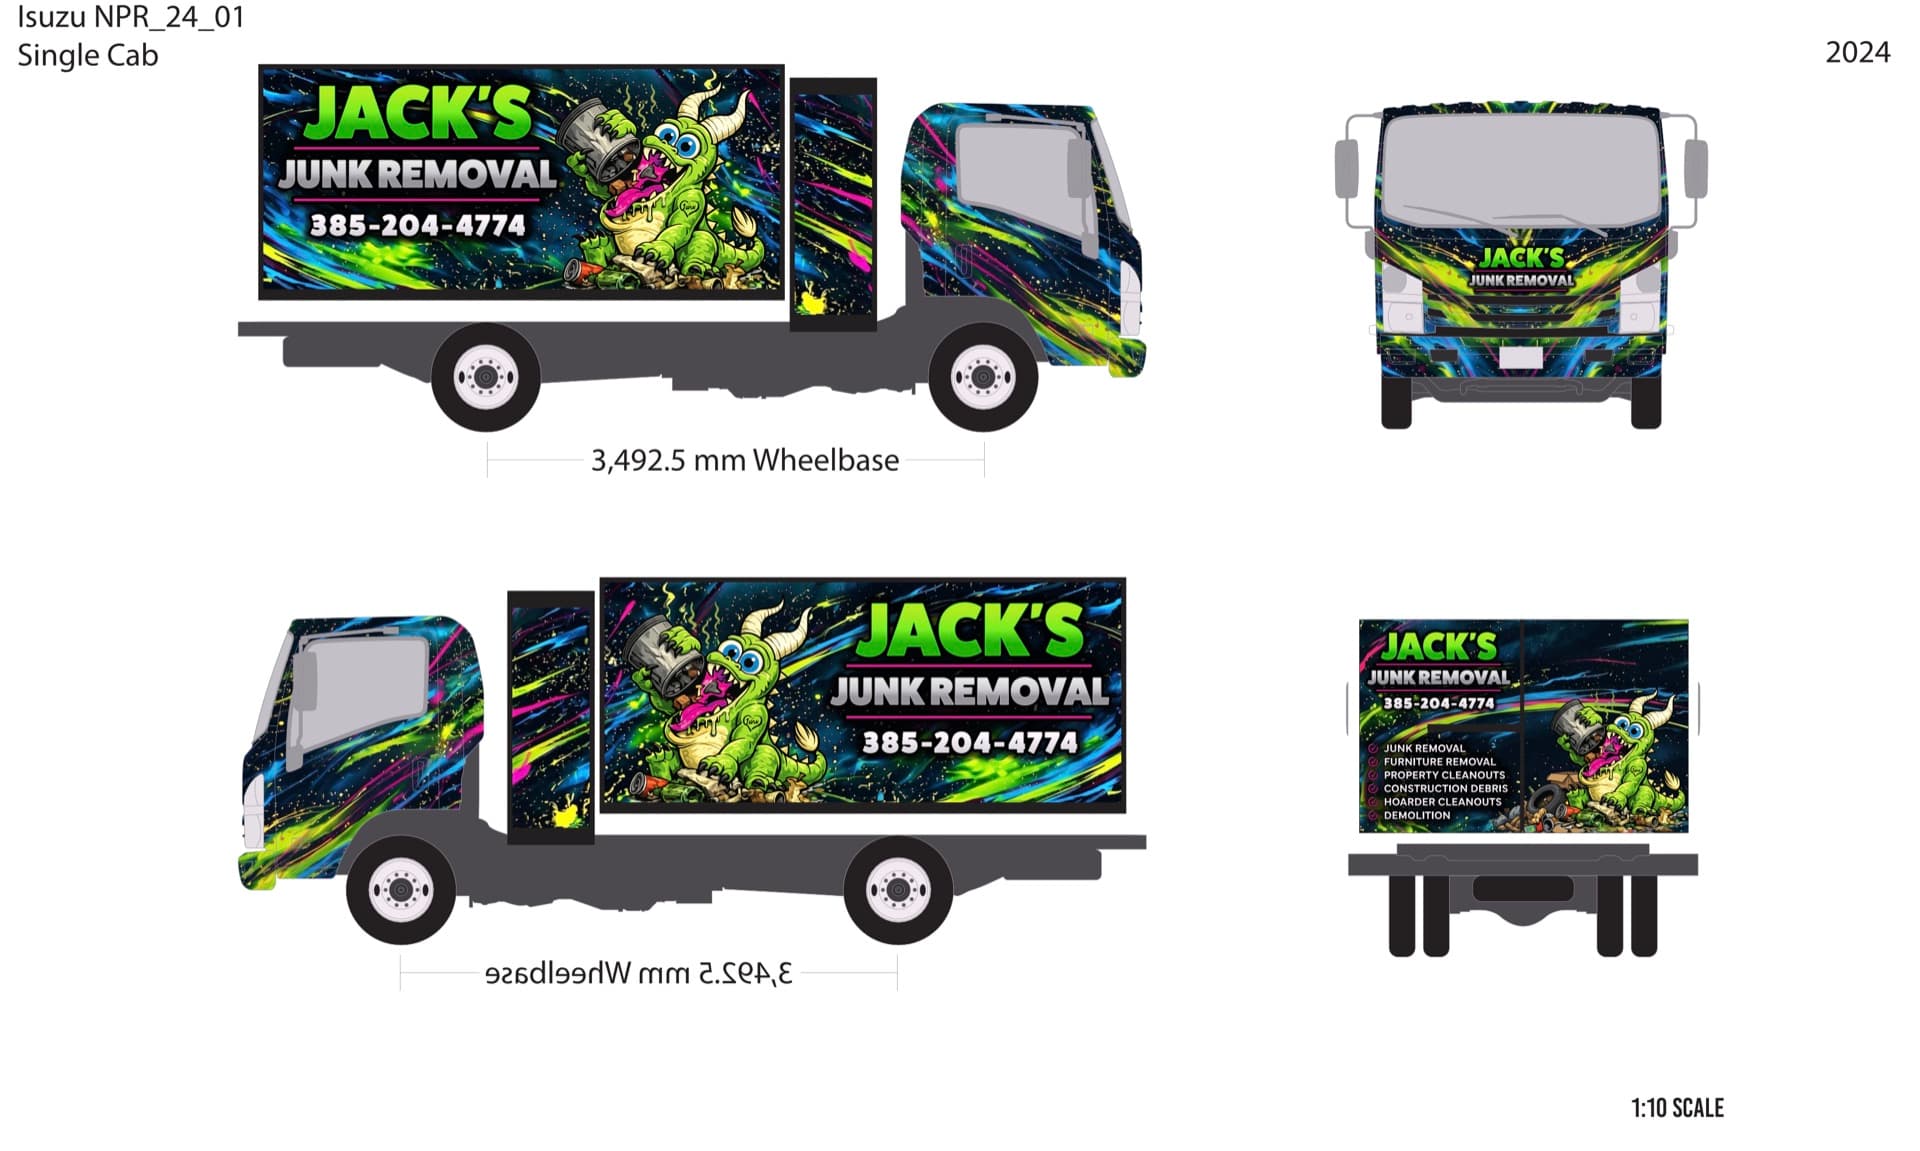
Tips for AI-generated mockups specifically: ask for a clear side-on view of the vehicle, not a 3/4 hero shot — easier to translate to print. Mention the year/make/model in your prompt so the AI gets the right body shape. Include your brand colors and key messaging in the prompt. Iterate 4-8 times until you have a version you actually like, not just the first one the AI gave you.
Step 2: Place the order (5-10 minutes)
Go to printyourwraps.com/designer. Upload your mockup (or generate one in our tool). Pick your vehicle category and wrap coverage (half / three-quarter / full). See the flat-tier price. Add install coordination if you want us to handle that part. Add Pantone color matching if you have brand-critical colors. Check out via card, Affirm, Klarna, or Afterpay.
Step 3: Submit your vehicle details (5 minutes, post-payment)
Right after checkout you’re redirected to your order status page. We need three things before production:
- Your VIN
- Year, make, model (confirms what we already collected)
- Four photos of your actual vehicle, taken with your phone: front, rear, driver side, passenger side. Daylight, no glare, no other cars in frame, no people. Doesn’t need to be professional — just clear.
This step is the #1 source of fit issues on install day.Submit photos of your actual vehicle, not stock photos. If your truck has a ladder rack, an aftermarket bumper, lift kit, or unusual trim — your photos will show that and we’ll account for it. If you submit clean stock photos and your truck has all that stuff, the wrap won’t fit and the reprint is on you.
Step 4: Schedule your installer (now, in parallel)
Do this now, not after the panels arrive. Wrap installers book 2-4 weeks out in most metros. If you wait until the panels are at your door to start calling around, you’ll add 2-3 weeks of waiting before they go on the vehicle.
Three ways to find an installer:
- 3M MCS Warranty installer locator — the certification-backed list of installers near you
- Avery Certified Installer directory — same idea for Avery vinyl
- Our install coordination add-on — we pick a vetted installer for you and handle the scheduling
Get a written quote that explicitly states: vehicle being wrapped, install date window, total install cost, what their policy is on installing third-party panels (some only install panels they printed themselves — confirm up front).
Step 5: Design cleanup (1-5 business days, our side)
Our design team starts on your order. They:
- Pull the vehicle template for your year/make/model
- Overlay your mockup, adjust for body geometry
- Split the design into actual print panels
- Map cutouts (door handles, gas cap, mirrors, etc.)
- Re-render text and logos as crisp vector or high-res raster
- Apply your brand colors with attention to print color shift
- Generate a final print-ready proof PDF
Total designer time per order is typically 1-3 hours. Wall-clock time depends on our queue — usually 1-3 business days, up to 5 when we’re busy.
Step 6: Proof approval (your call, however long you take)
We email you the print-ready proof. You review it. This is the last point at which design changes are free.
What to actually check on the proof:
- Phone numbers and website URLs. Typos here cost real money. Double-check every digit.
- Business name spelling. Same.
- Logo placement. Look at where it lands on each panel — does it get cut by a door split? Hidden behind a ladder rack? Move it if so.
- Vehicle template. Make sure it matches your actual truck. Our designer chose what they thought was your variant; you confirm.
- Colors. Brand colors should look right on screen. Note: there will be some shift in print, especially for vivid blues and oranges. We flag colors that may shift noticeably.
Flag anything you want changed. We revise, send a new proof. Reasonable revisions are included. Once it’s right, you approve.
Approval = production starts that business day. Design is locked.
Step 7: Production (3-5 business days, our side)
Printing happens at our SLC facility. Premium cast vinyl, ICC color profile matched to the laminate stack, panels printed at 1:1 scale. Lamination is applied, vinyl is cut on a flatbed cutter to the panel template. QC pass.
Step 8: Shipping (2-5 business days, depending on your zip)
Panels roll on a 3-inch core, get boxed in a sturdy shipping tube, and ship insured. Tracking number arrives by email. The box is bulky but light — most orders ship UPS or FedEx Ground, larger orders may ship freight.
Inspect on delivery.Open the box within 48 hours and look at every panel. If there’s damage — to the box exterior, the panels themselves, anywhere — photograph it immediately and email orders@printyourwraps.com with the photos and your order ID. We reprint affected panels free. After 48 hours, the carrier closes the claim window and we lose ability to file.
Step 9: Install (1-3 days at installer)
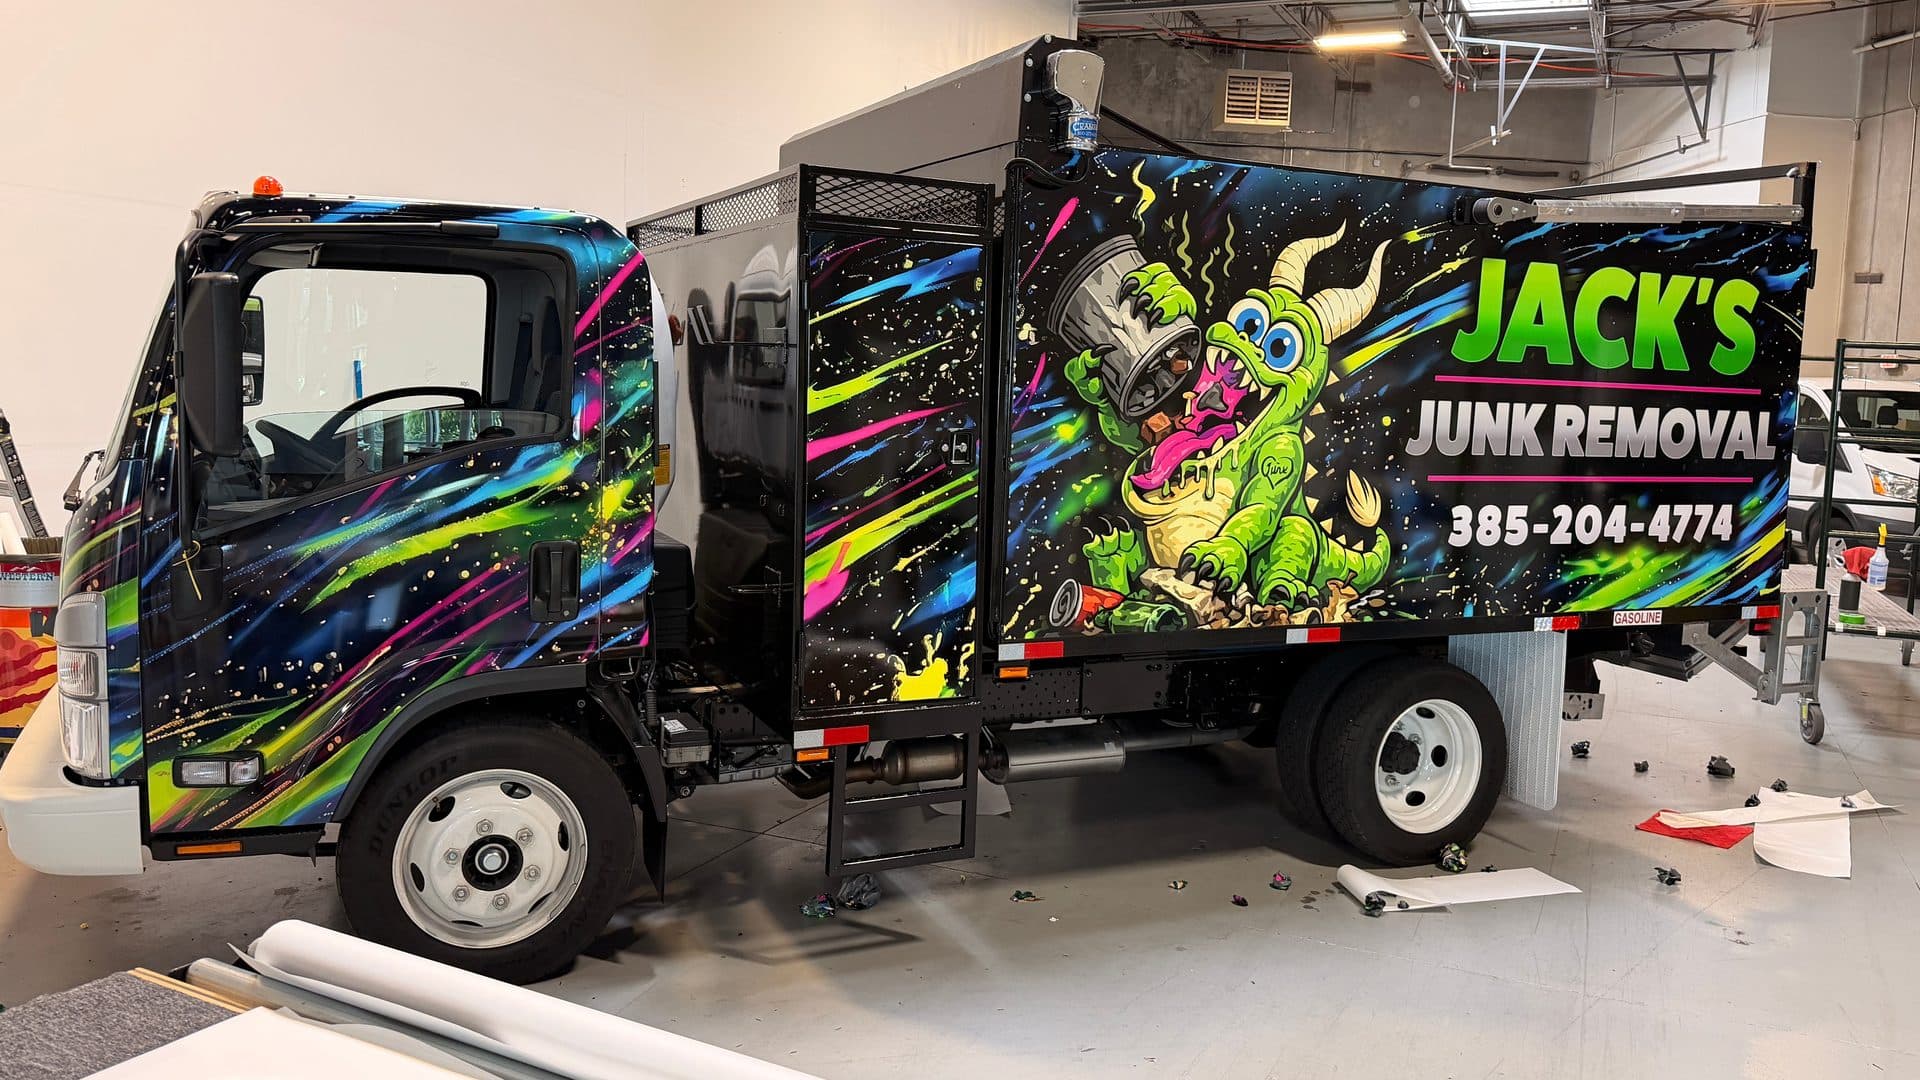
Take the panels to your installer at your scheduled appointment. Most installers want the vehicle for 1-2 days (some 3 for complex wraps). They’ll prep the vehicle surface (wash, decontaminate, sometimes clay-bar), heat-stretch the vinyl over the body, trim around cutouts, post-heat to set the adhesive. Done.
Pick up the vehicle the next day. Don’t wash it for the first 72 hours (adhesive cure time). Don’t take it through a touch car wash for the first week. Hand wash only is the safest bet for the first month, gentle touchless after that.
What can go wrong (and how it gets handled)
The honest list:
- Panel doesn’t fit (our error): free reprint, fast turnaround
- Panel doesn’t fit (bad photos at order): reprint is on you
- Print defect (banding, color shift, contamination): free reprint
- Transit damage: free reprint if reported with photos within 48 hours
- Installer damages a panel during install: between you and your installer. We sell you replacement panels at cost if needed.
- You don’t like the wrap after install: no remedy. Approval killed design returns. Look at the proof carefully before approving.
- Vehicle is sold / leased back / damaged in an accident before install: the wrap is yours — no refund, but you can keep the panels for a future vehicle of the same model.
Full policy: Returns & Reprints.
The realistic total timeline
From the day you place your order:
- Day 0: order placed, photos and VIN submitted, installer booked for ~3 weeks out
- Day 1-3: design cleanup, proof sent
- Day 3-5: proof approval (depends on you)
- Day 5-10: production
- Day 10-15: shipping
- Day 15-21: install
- Day 21-24: adhesive cure window
- Day 24+: wrap is fully cured, drive freely
If you have a hard deadline (a launch event, a lease return, a wedding photo backdrop, whatever), back into it from your deadline. Add rush production at checkout if needed — it bumps your file ahead of the queue.
FAQ
How long does the whole process take from mockup to installed wrap?
Realistic full timeline: 2-4 weeks. Order → design cleanup (1-5 business days) → your proof approval (depends on you) → production and shipping (5-10 business days) → install schedule at your local installer (varies). The bottleneck is usually scheduling the install — book that as soon as you place the order, not after the panels arrive.
What if I don't have an AI mockup, just an idea?
Use our designer. You enter a brief (or paste your business URL and let us scrape your brand) and we generate a mockup with Google Gemini in the browser. Iterate until you're happy, then continue to checkout. No separate AI tool subscription needed.
What's the most common reason a wrap doesn't fit on install day?
Photos that didn't match the actual vehicle. Customer submits stock photos found online of their model year instead of their actual truck; turns out their truck has a ladder rack, an aftermarket bumper, or different trim. The wrap was built for the photos. Submit photos of your actual vehicle, taken with your phone, from four angles. Phone photos are fine — they just need to be of the real thing.
Can I change my mind on the design after I approve the proof?
Not without paying for a reprint. Once you approve the proof, production starts the same business day and the design is locked. Take your time with the proof — it's the last point at which changes are free.
What if I don't like the wrap once it's installed?
Approval kills design returns. You approved the proof; the wrap matches the proof. That's the deal — it's how the custom-print industry works because you can't resell a vehicle-specific wrap. We work hard to make the proof an honest representation: panels, colors, vehicle template all included. Look closely at the proof before approving.
Do you help me find an installer?
Yes. We maintain a list of 3M and Avery certified installers we trust. We can recommend ones near you, and you can opt into install coordination at checkout for ~80% of your wrap subtotal — we'll handle the scheduling, the back-and-forth, and the dispute side if anything goes wrong with the install.
Related questions
- I designed a wrap with AI. Where do I get it printed?
The narrower 'I have a ChatGPT mockup, what now' answer.
- How much does a vehicle wrap cost?
All-in cost math for the process described on this page.
- Can I install a vehicle wrap myself?
The DIY install branch of step 5.
- Where can I get a vehicle wrap printed?
If you haven't picked a printer yet, the comparison.